PrestaShop
The Billease Checkout plugin works only on PrestaShop 1.6.x.
Setup
Download the plugin zip package.
Login to your store's admin dashboard. Go to Modules and Services and click Add a new module button.

Click Choose a file and select the zip file we downloaded earlier. Click Upload this module.

Once uploaded, it will show on Modules List. Click Install.
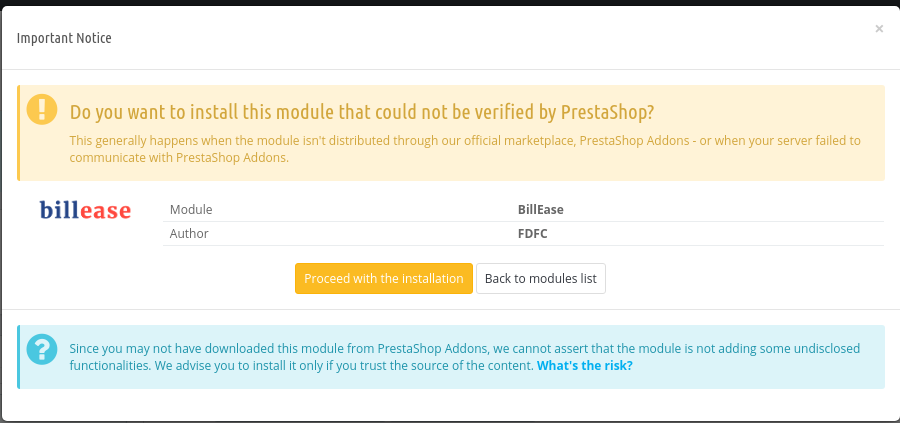
A confirmation dialog will appear. Click Proceed with the installation.

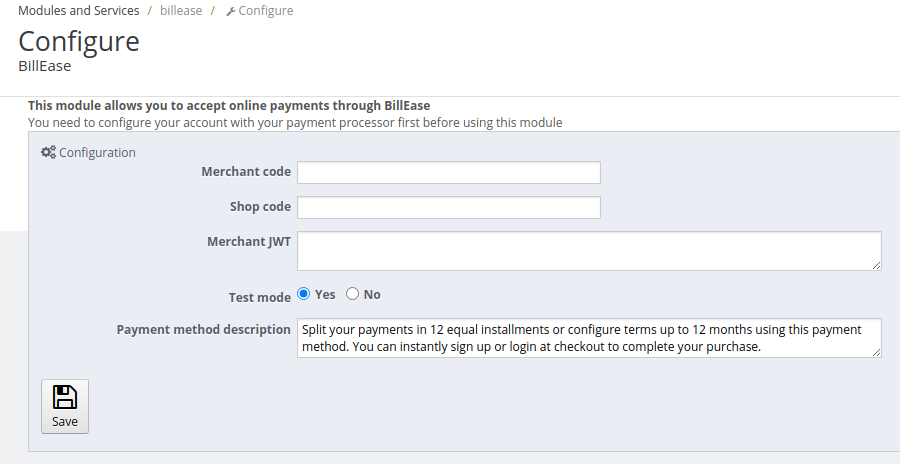
Once installed, click Configure.

Enter your Merchant code, Shop code, and Merchant JWT. Make sure that Test mode is enabled to allow testing using our staging environment.
Click Save button.
Callback
To update order status in your store based on status changes from our API, you need to add new webservice key.
Go to Advanced Parameters => Webservice. Enable it. Click Save button.

Click Add new webservice key button. Click Generate! to generate key. Set Status to YES.

Set permissions to orders resource. Check View and Modify checkboxes. Click Save button.
For our API to use this key, you need to save it in our system through the Merchants Portal.
Log in to the portal.
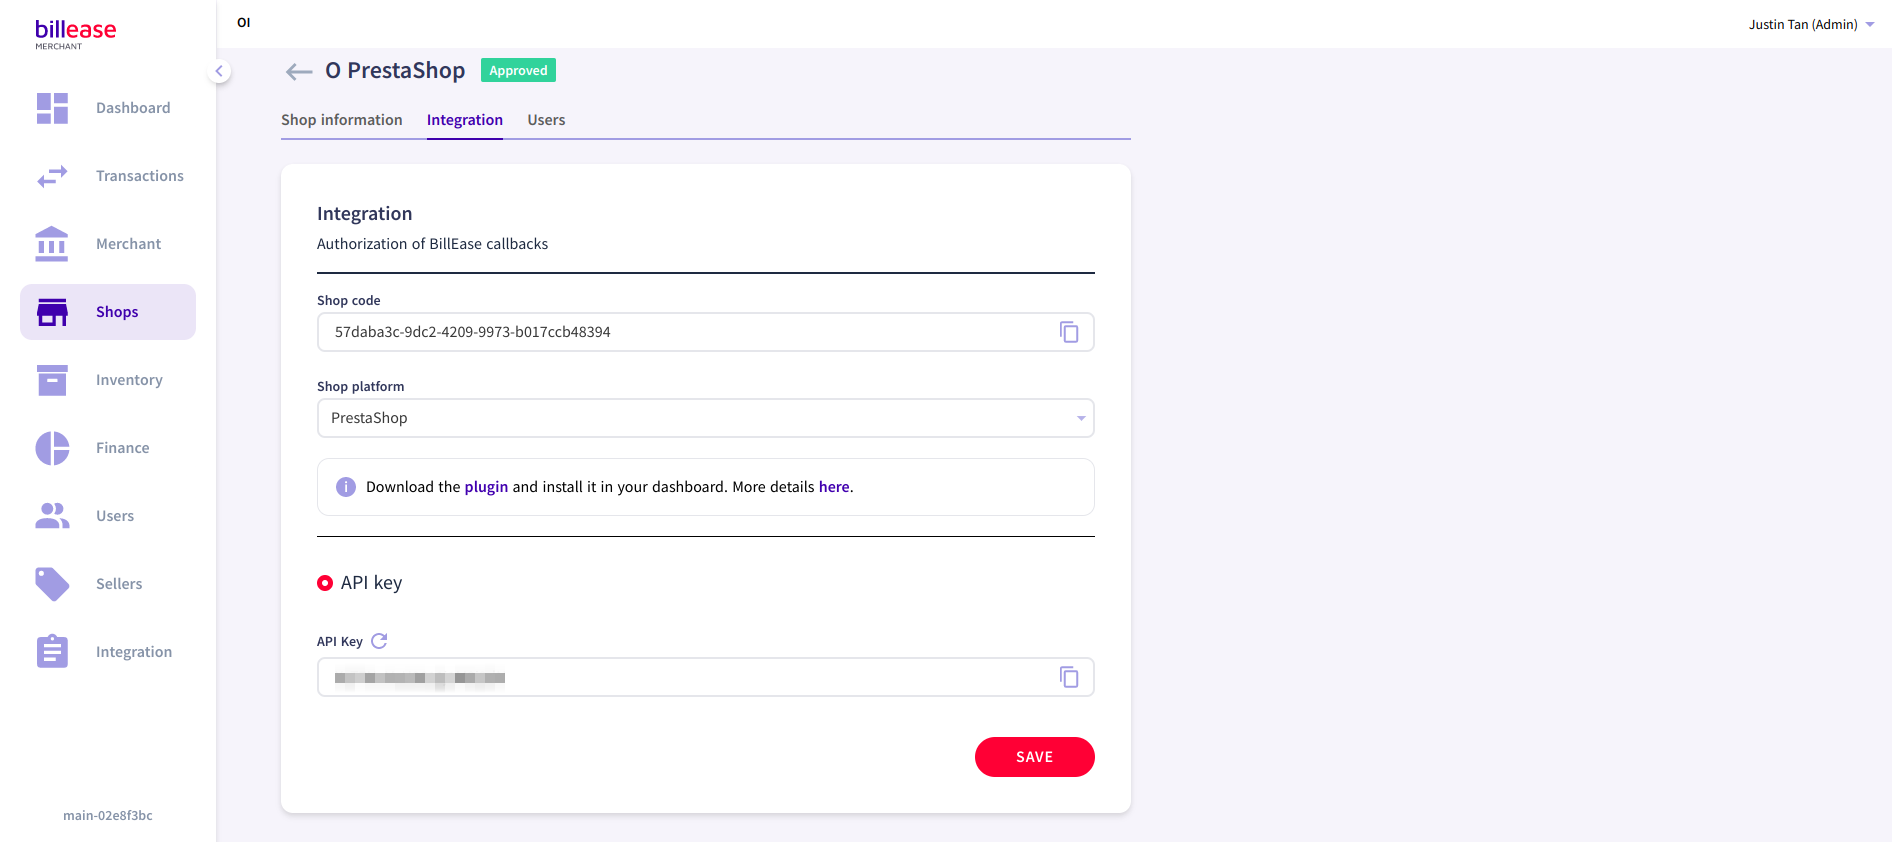
Go to the Shops tab and select the target shop from the list of shops. Then select the Integration tab on that page.

Paste the Webservice Key into the API Key field. Click Save. On the confirmation dialog, click Confirm.

Customers will now be able to use Billease as a payment method in your PrestaShop shop upon order checkout.