WooCommerce
The Billease Checkout plugin was tested using Wordpress 5.5.x and WooCommerce 4.7.x. While it is compatible with recent versions, we will help you workaround encountered issues during integration should you happen to use untested versions. You can reach out to us on [email protected].
Setup
Download the plugin zip package.
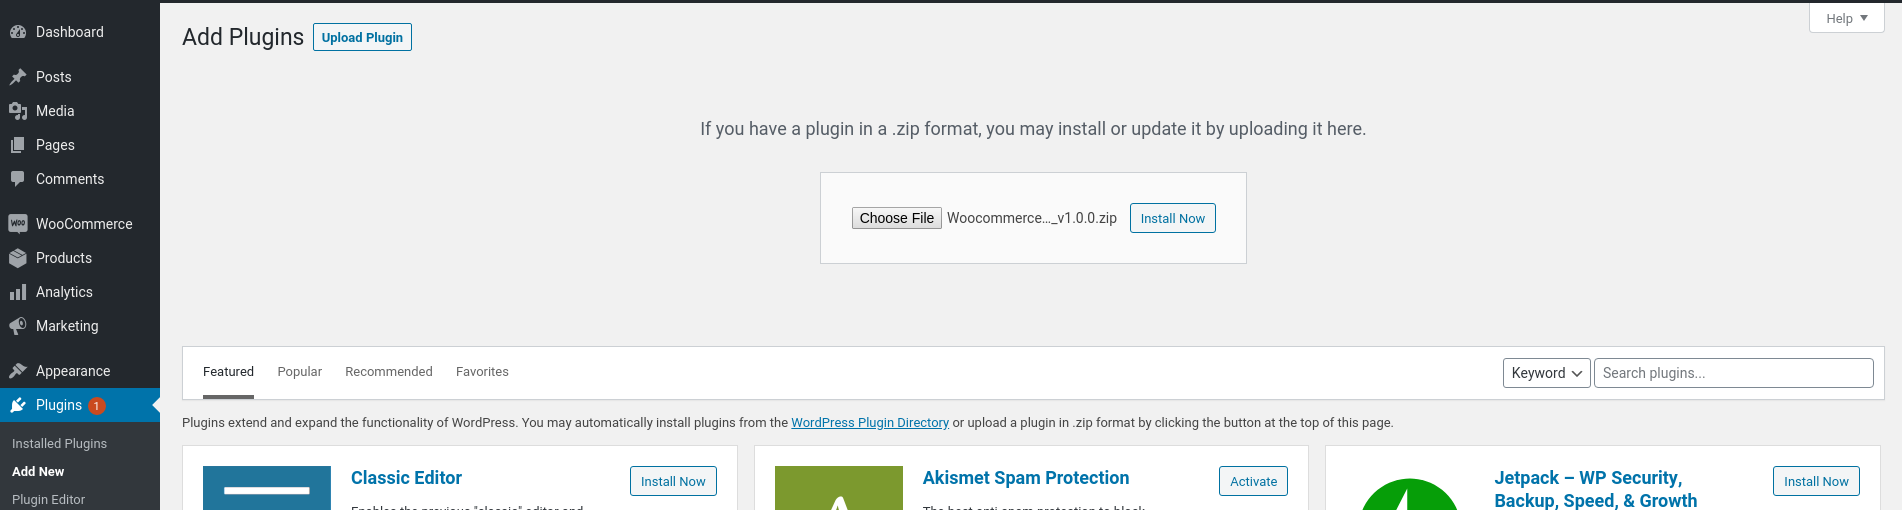
Login to your store's admin dashboard. Go to Plugins => Add New. Click Upload Plugin button.
Click Choose File and select the zip file we downloaded earlier. Click Install Now.
Once installed, click Activate Plugin button.
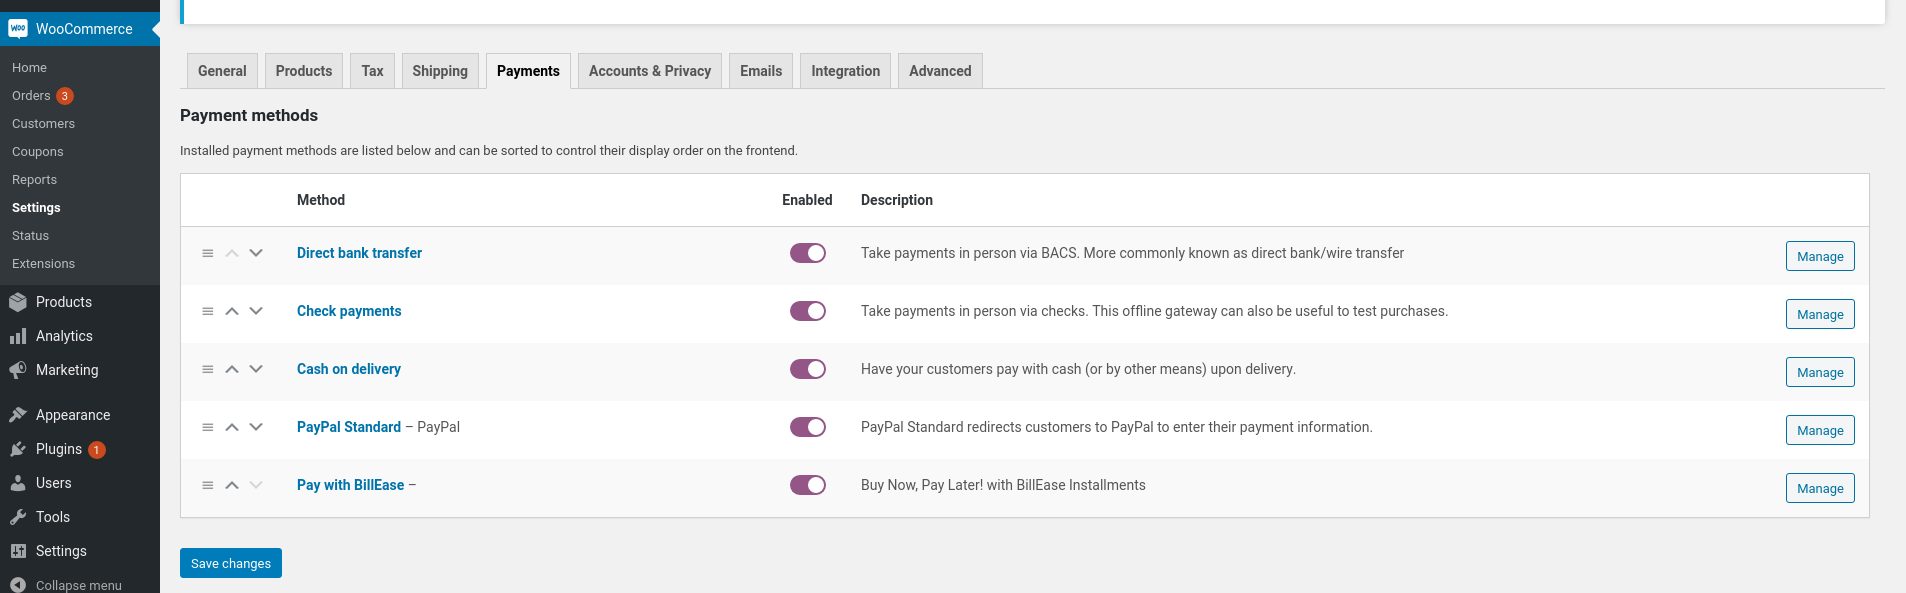
Go to WooCommerce => Settings. Go to Payments tab. Enable Pay with Billease payment method. Then click the Manage button.
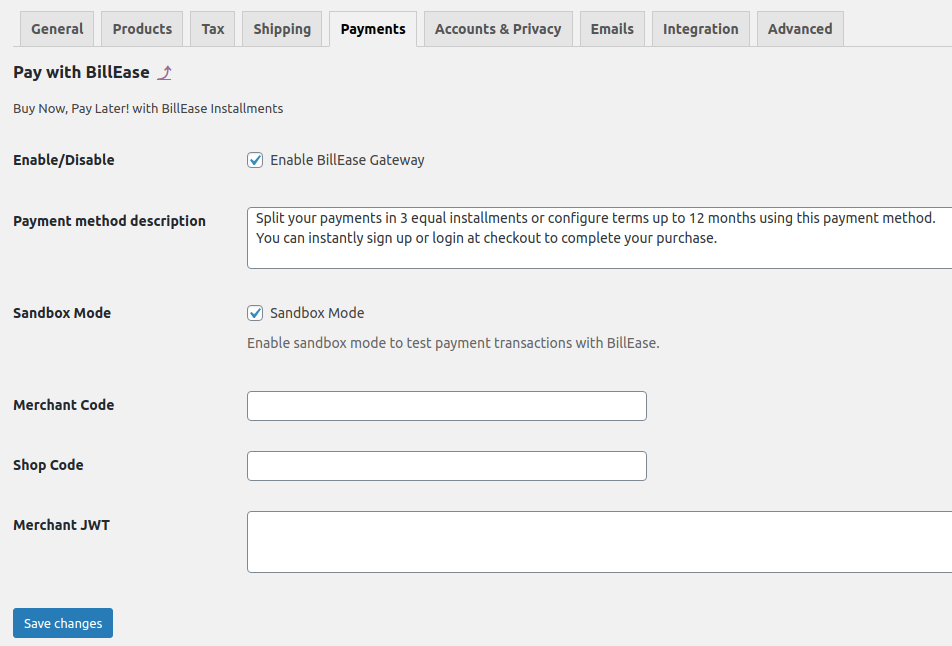
Enter your Merchant Code, Shop Code, and Merchant JWT. Make sure that Sandbox mode is enabled to allow testing using our staging environment. Click Save changes button.
Callback
To update order status on your store on every status changes from our API, you need to add new REST API key.
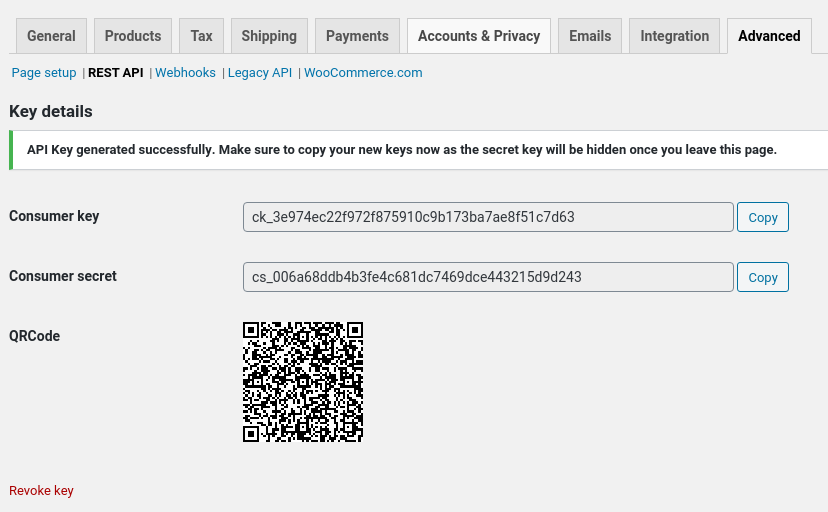
In WooCommerce Settings, go to Advanced tab and then REST API tab. Click Add key button. Enter Description and select Read/Write for Permissions.
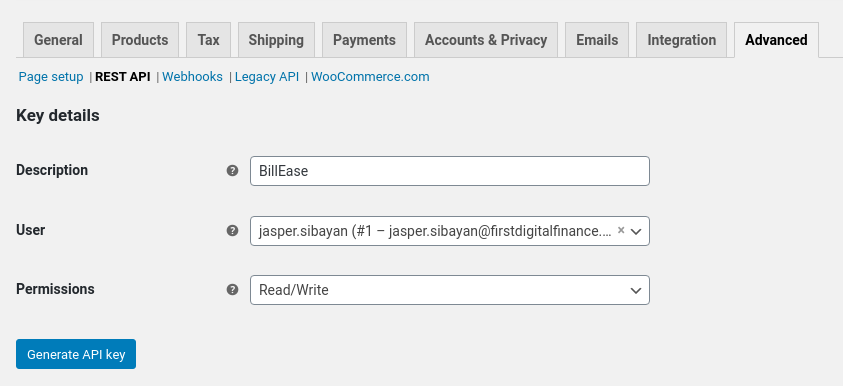
If successful, you should see this screen:
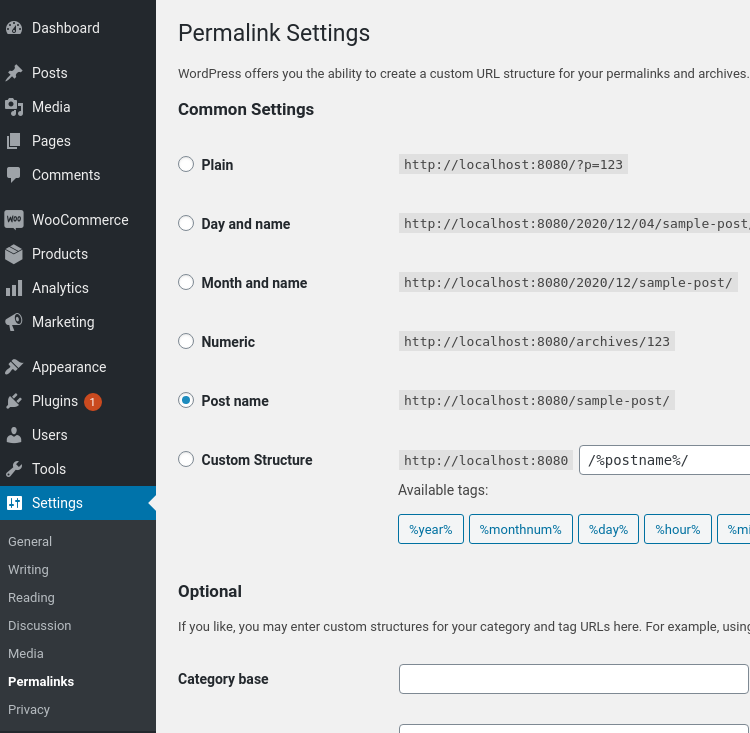
Make sure your permalinks are set to use Post name to make the REST API work.
Go to Settings => Permalinks. Under Common Settings section, select Post name.
For our API to use these keys, you need to save them in our system through the Merchants Portal.
Log in to the portal.
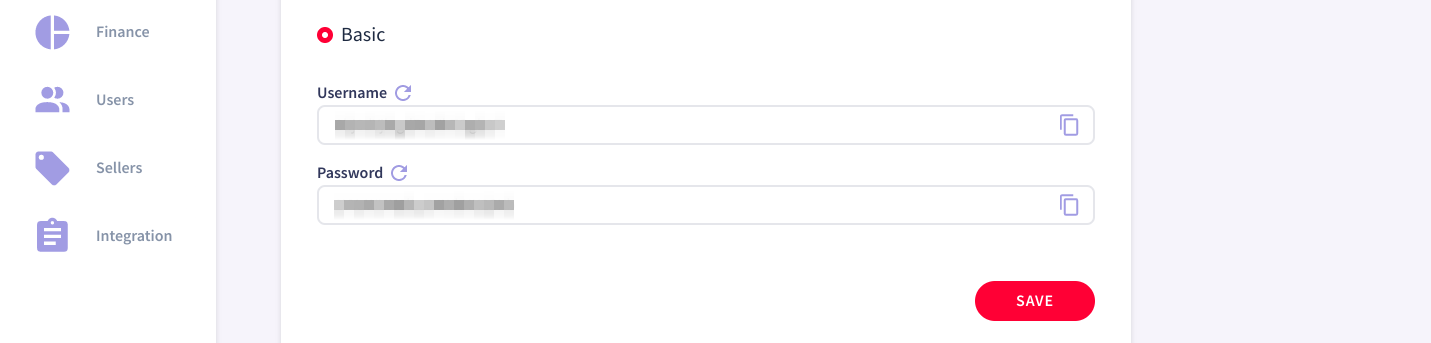
Go to the Shops tab and select the target shop from the list of shops. Then select the Integration tab on that page.

Enter the API keys (Consumer key and Consumer secret) to Username and Password fields respectively. Click Save. On the confirmation dialog, click Confirm.
Customers will now be able to use Billease as a payment method in your WooCommerce shop upon order checkout.